Your cart is currently empty!
Living Room Built-Ins | Part 2
If you haven’t checked out part 1 of our living room built-in tutorial where I share all about how we built the base cabinets, be sure to check it out here.
Hey guys! How’s your new year going?
Ours is well underway and we’ve been busy! I started the new year off with some good organization of the nursery closet and now that Christmas is all packed away and I’ve had time to play around with our living room built-ins, I wanted to show you how we built the upper shelves. If you’re just tuning in, please be sure to stop by and read part 1 of our DIY built-ins so you’re up to speed!

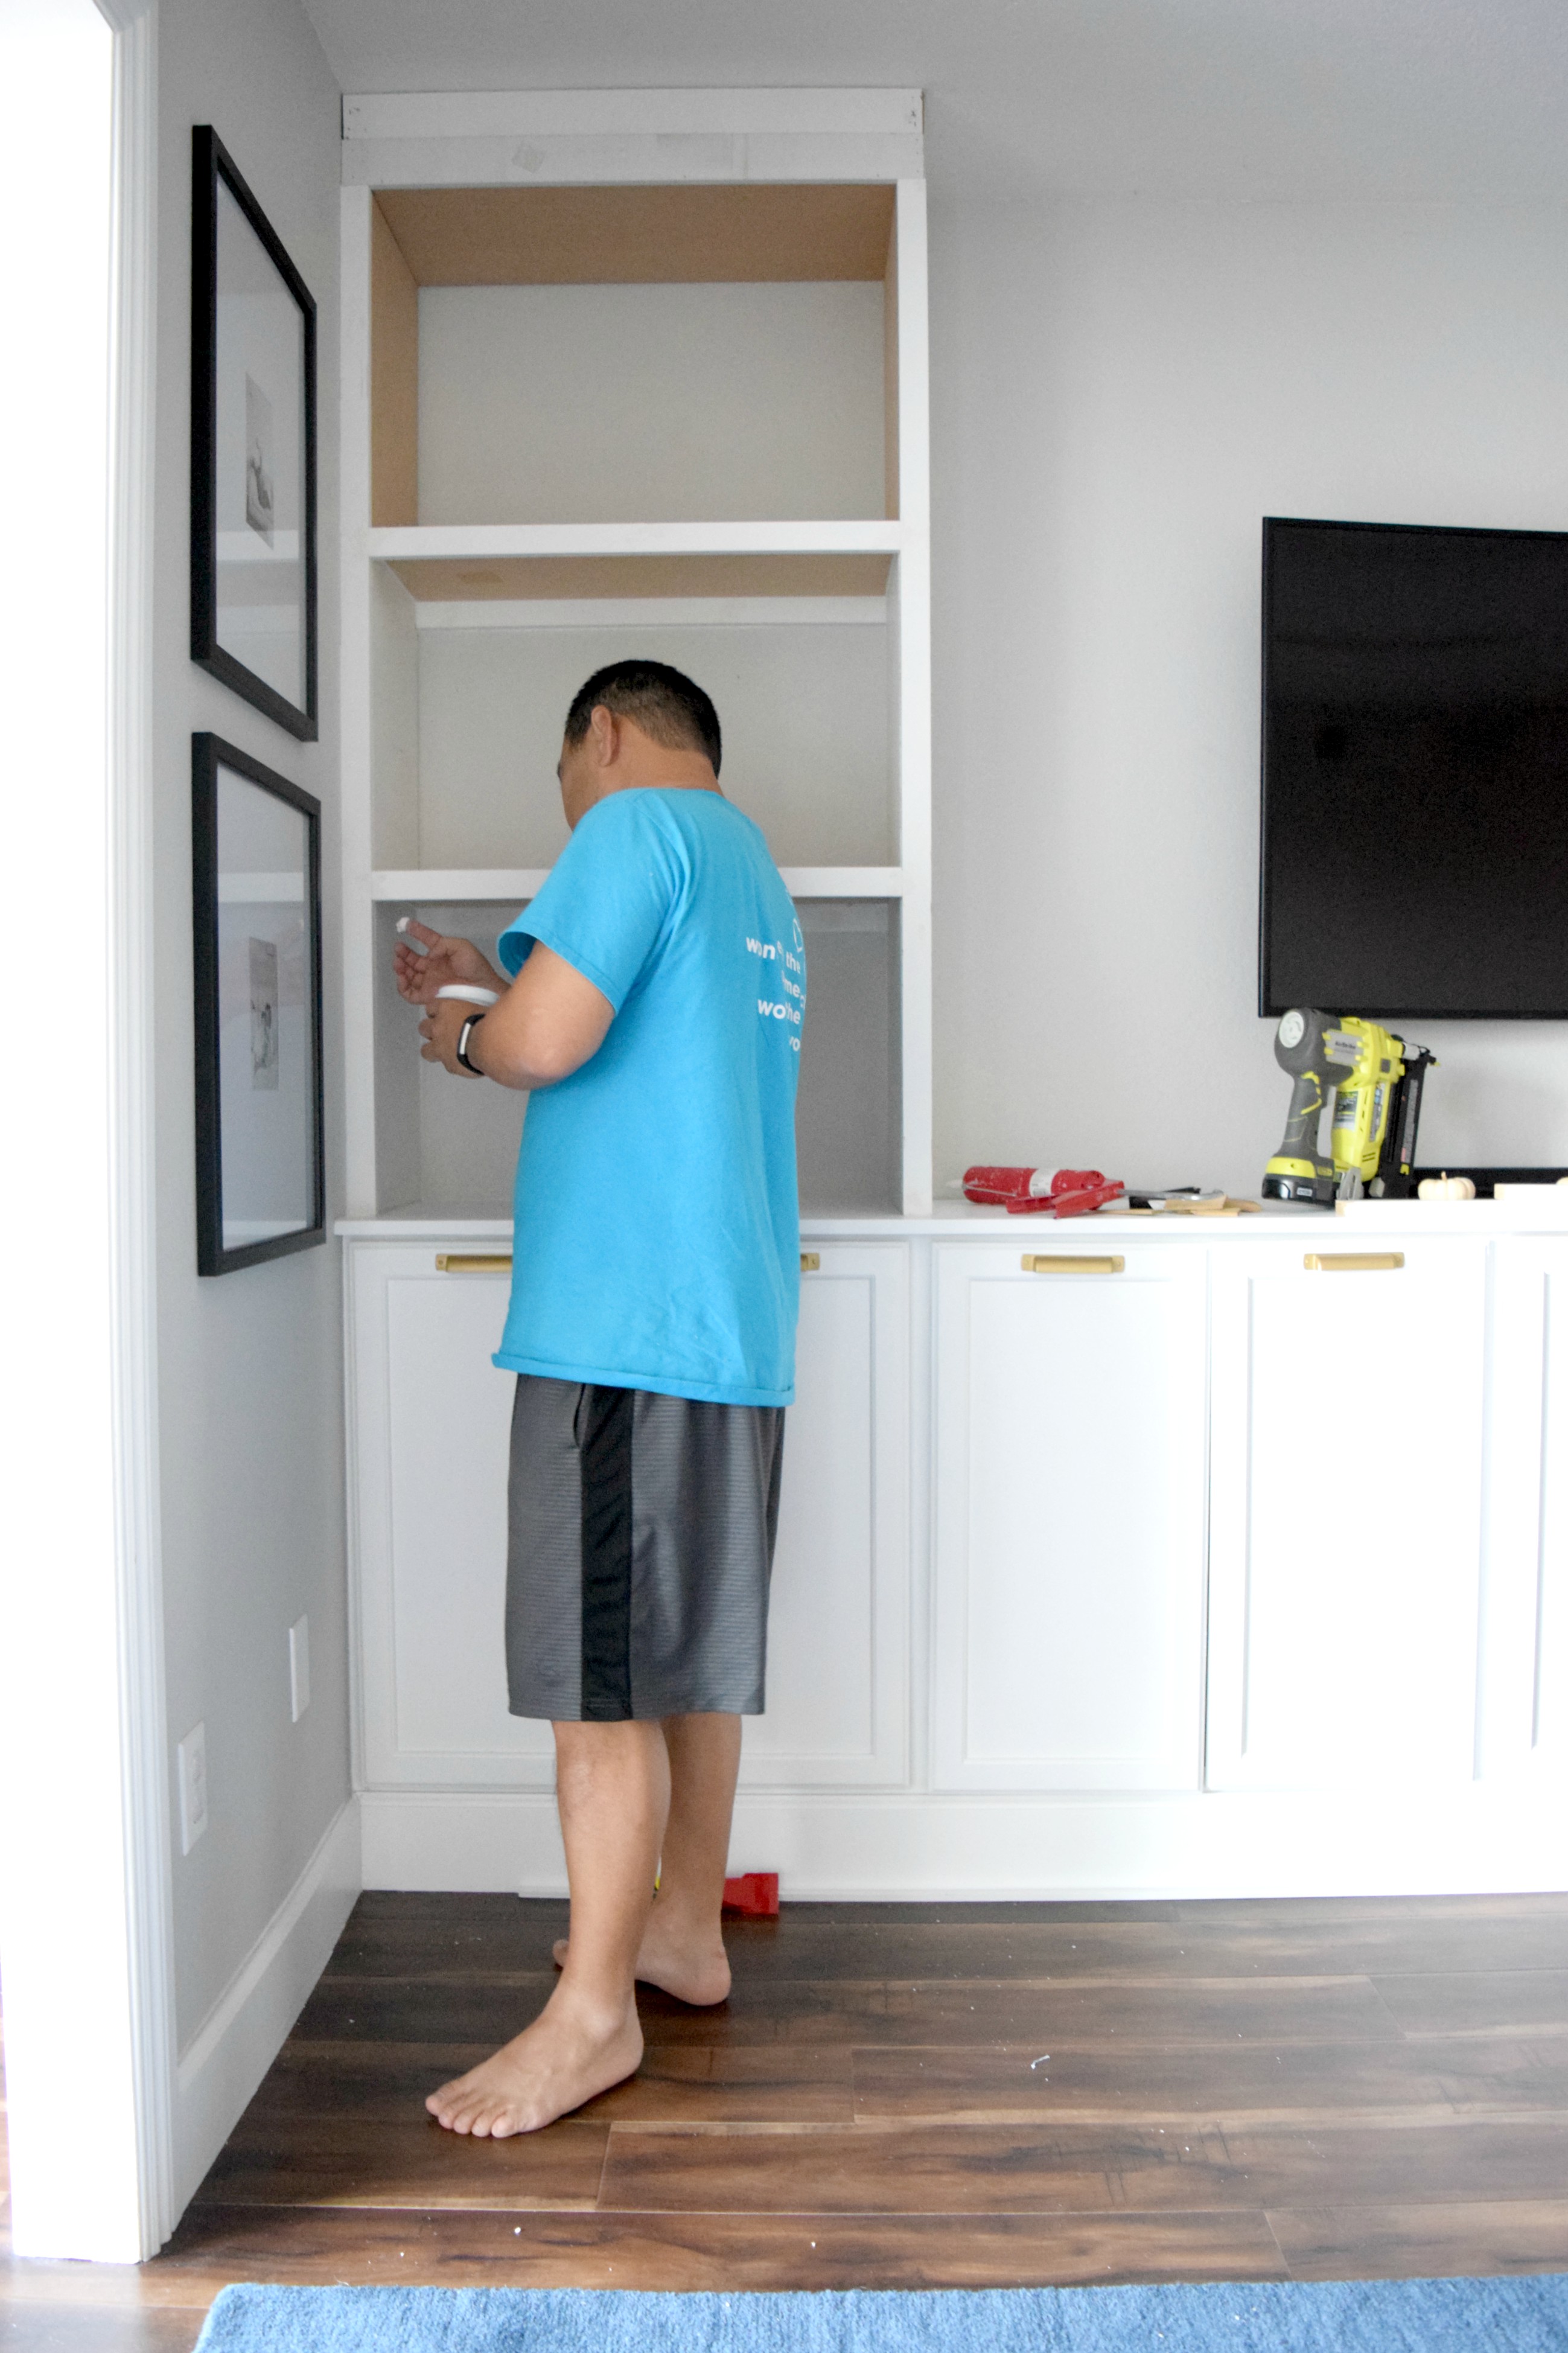
With everything completed for the lower portion of the built-ins we set our sights on completing the construction of the upper shelves. We honestly had no idea what we were doing – and that scared us. The fear of starting a project we weren’t confident we had the skills to complete caused us to push this project farther and farther down the to-do list.
But guys!
Don’t make the same mistake we did! Don’t be scared or intimidated by a project like this! If you can operate a saw and a nail gun, YOU CAN DO THIS!
Before we began we watched several videos (in excess) and read several tutorials but by far – this was the most helpful video we found and was really the tutorial that made this project seem easy and approachable.
We purchased our supplies at Home Depot and had them cut down most of the pieces right there in store that way they were easier to transport and required us to make fewer cuts at home.
To start, we began in the left corner and measured from the top of the built-in up to the ceiling and we cut a 12″ wide piece of MDF down to size.

We erred on the side of caution and cut the MDF side panel a smidge large on the first pass and kept making small incremental cuts until it fit. We were so nervous we were going to screw something up so we tried to be overly cautious in the beginning! We secured this side panel into the studs using 2″ nails.

Note: we did not secure any of the upper shelving structure to the bottom cabinetry portion of the built-in. It was not necessary because the side panels keeps everything secure and in place.
Once we put up the first side panel we realized just how wonky our walls and ceilings are (note the sizeable gap along the back edge). At first we were really upset and frustrated but we realized that it’s to be expected in an old house and course corrected as we went along. We used our right angle and our square a lot to make sure everything was level and plum. Since we couldn’t rely on the wall or ceilings as our guide, we made sure that the panels we installed were straight and level and that was our new template.

Next we added a piece of wood along the back of the wall (secured into the studs) to act as a brace and a way to secure the right side panel until we could build more stability.

We also added a piece along the bottom but we didn’t nail this piece of wood into anything. It more or less acted as a spacer so that from top to bottom the shelving box we were building was square.
With those 2 back supports in place, we nailed the right panel into the top support only from the outside.

And for good measure, we added another spacer to the front at the top to keep everything square. Later, this piece of wood is what we nail our crown molding into.

Now that the outer frame was built and well supported, we began adding the shelving which is where the real strength and support comes from. To do this we first had to decide how many shelves we wanted and how tall we wanted each shelf to be. This was by far the hardest part of the whole process.
In the end we decided on 3 “boxes” of equal height (3 boxes = 2 actual shelves). Looking back now I’d definitely say that this was a mistake we made and wish we had gone with 4 boxes.
You win some, you lose some. Moving on…
To create the shelf supports we cut a two more pieces of MDF (12″ wide x whatever height you want your shelf to be) and secure each of those it into the left and right side panels. Then we ran a piece of 1×2 along the back wall and secured it into the studs. This is what your shelf will sit on.

Here is what it looks like from the front to give you an idea:

That raw edge of the MDF in the photo above will later get covered by trim pieces.
Now all you have to do is add your shelf and repeat the process until you’ve built all the shelves for your built-in.
This is what gives your built-in the support and stability. Adding the pieces along the perimeter in several sections are what give it it’s strength and make it unnecessary to secure into the base of your built-in. This thing is solid like a rock.

To finish the top “box” was a tad tricky and one we had to brainstorm a bit. After placing the 2nd shelf we were a little perplexed as to what we were supposed to do next. None of the tutorials we had referenced explained this part so we had to figure it out as we went along.
Basically what we did was exactly what we had done before. Except this time the “shelf” that we slid into place was essentially the ceiling of the shelving structure.
We added another strip of wood to the front to close the gap up top and which looks ugly now but would eventually get covered by crown molding.

Once all the shelves were built, we trimmed everything out. The 2 pieces of MDF sandwiched together are covered perfectly with 1×2 strips of wood.
We first attached the long vertical pieces but nailing directly into the face of the trim and then went back and added the horizontal pieces.

Here’s a close up:

Next up:
Spackle and a crap ton of caulk to fill all those nail holes and gaps!
This one gets a little trigger happy with the nail gun so I made him do all the spackling.
So? What do you think?! Not that intimidating, right? I hope you find that this project is approachable and something you definitely can tackle after reading this post.
There’s still so much to share regarding our built-ins (hello reveal!) including how we installed shiplap and crown molding so be on the look out for a third and final post to round out how we DIYed our living room built-ins!
Is this a project you’d tackle? I’d love to see if you do!
3 responses to “Living Room Built-Ins | Part 2”
This is exactly what I’ve been looking for! Thank you so much for posting. I’ve been wanting to add built-in bookshelves but have been so intimidated. This is just the push I need. Thank you!
It seems very intimidating but it’s honestly a lot easier than you’d think! I hope you give it a try. Let me know if you do!
Hello, your built-ins look fantastic and this post made the process very straight-forward. I couldn’t find a link to the video tutorial, would you be willing to share?