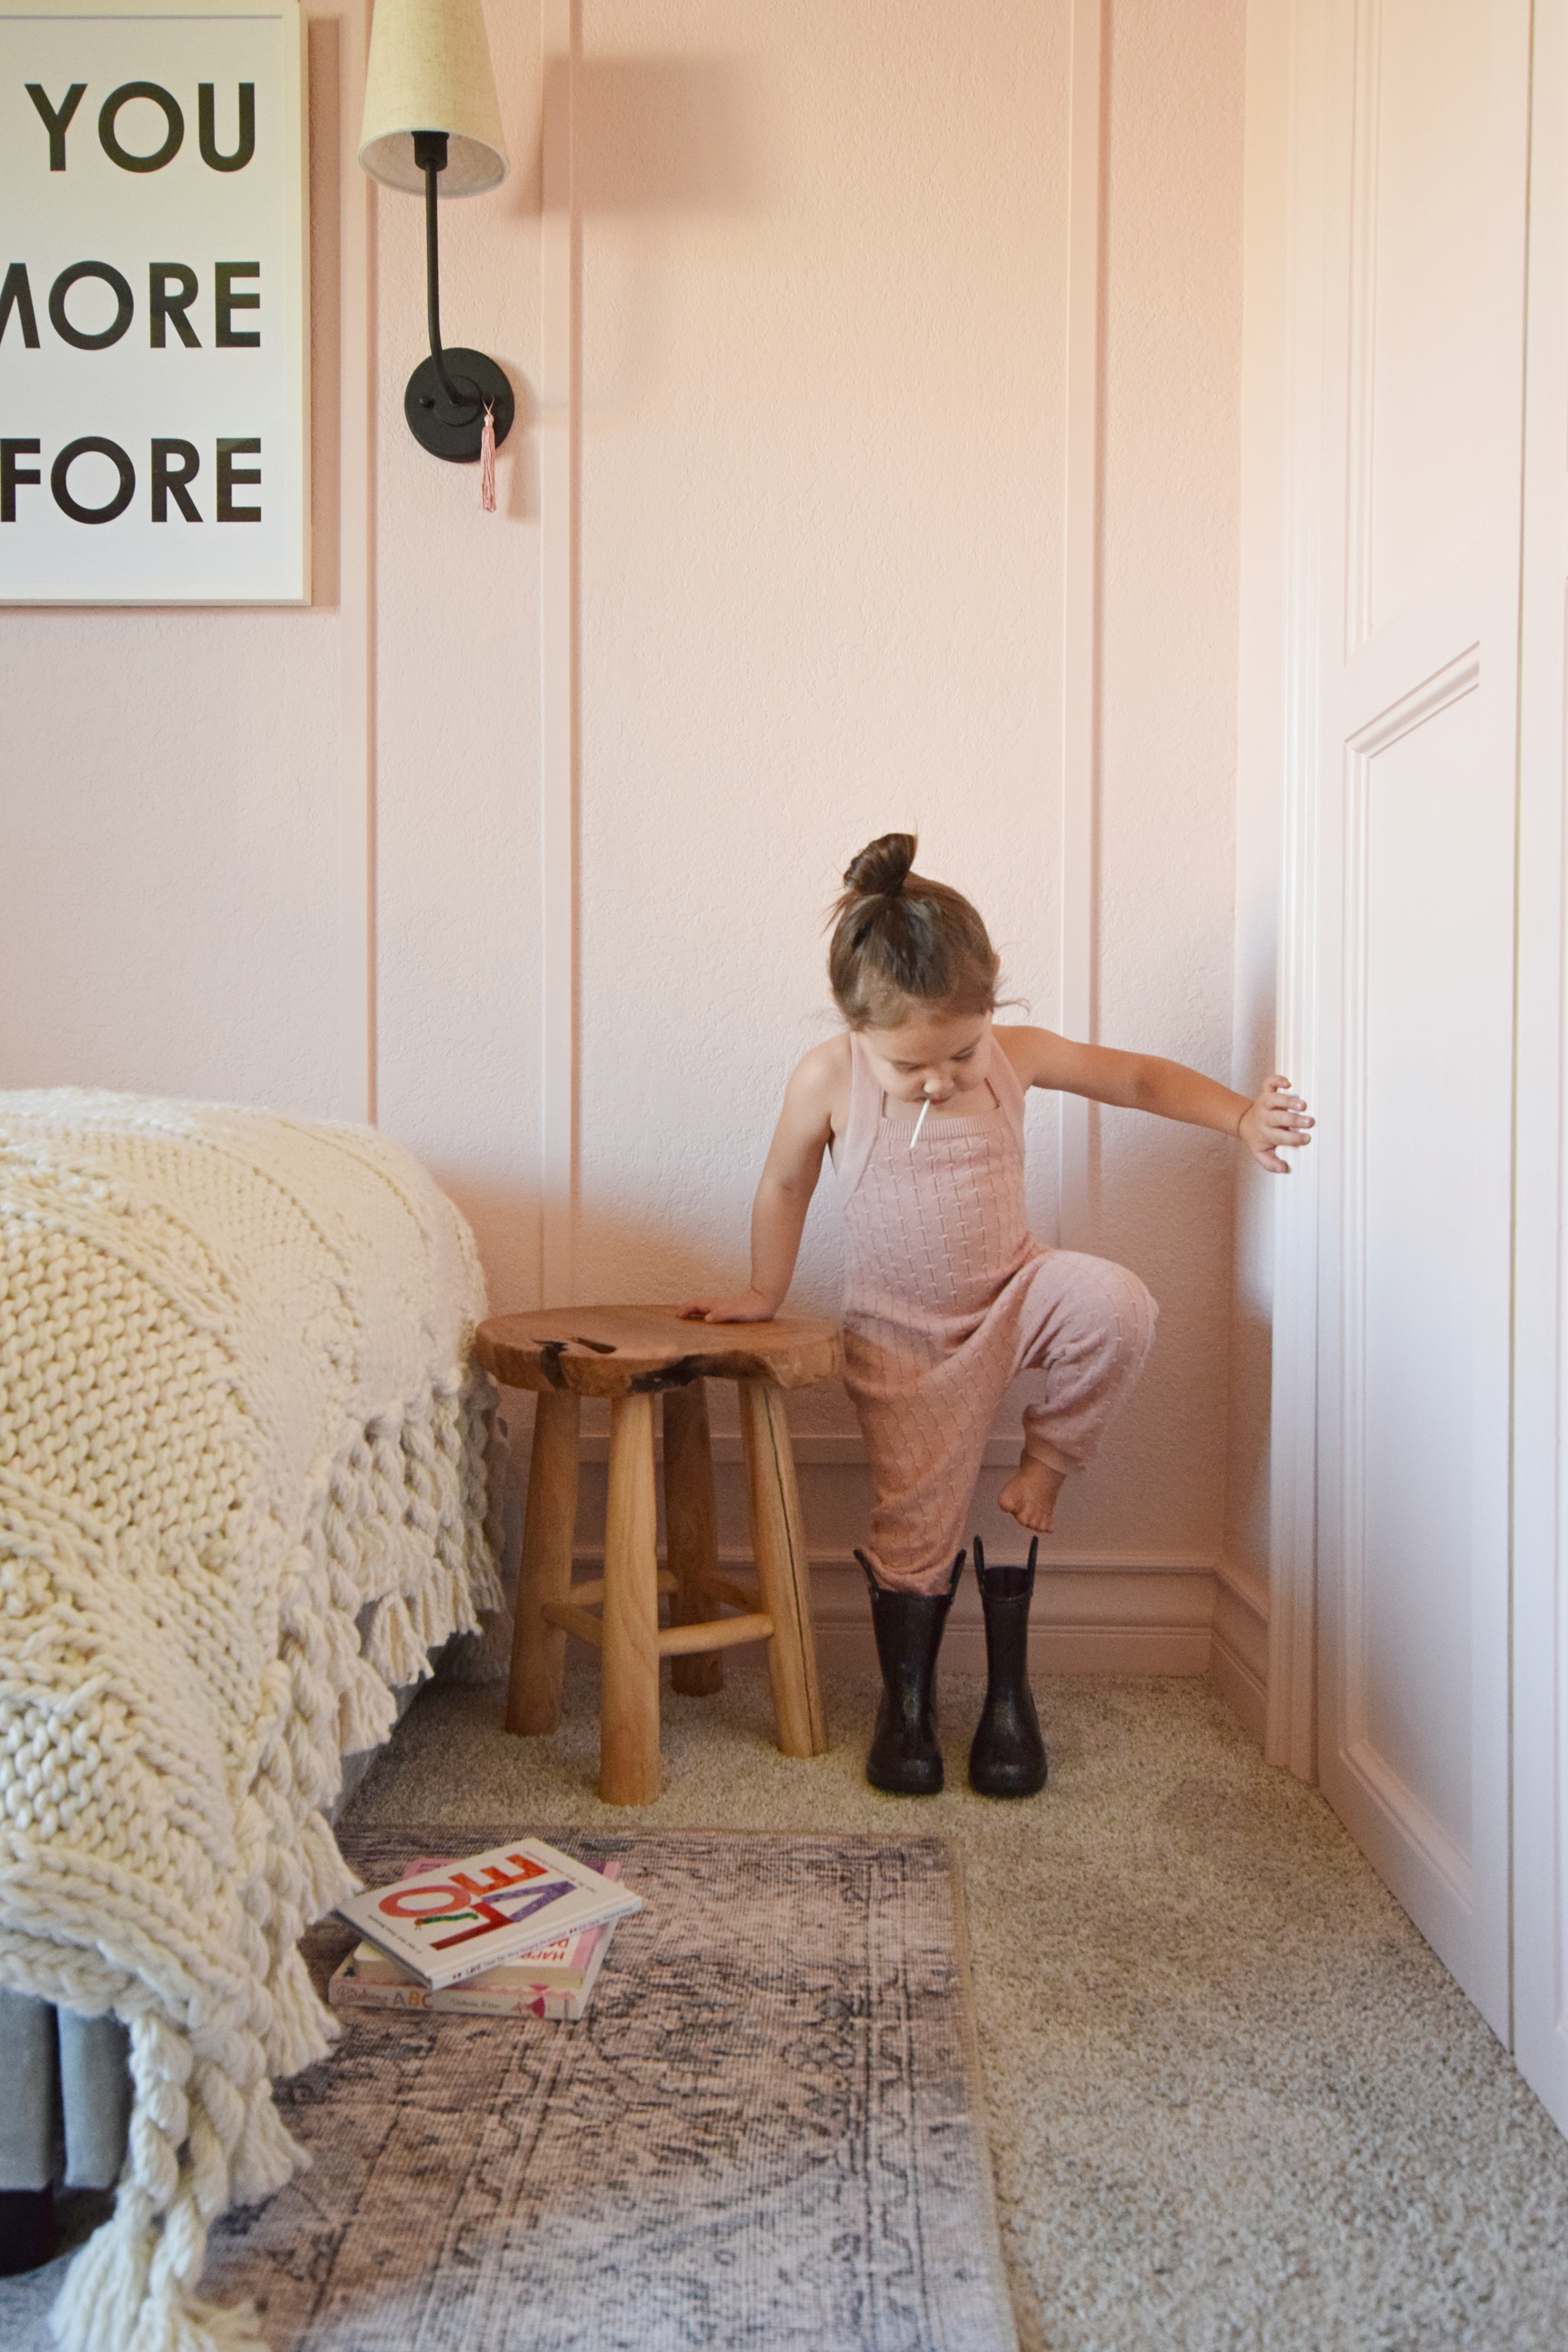
One of the biggest projects we tackled in our One Room Challenge space was adding closet doors where there was previously none. Don’t remember what the closet area looked like before? Let me remind you:

The previous owners removed the closet doors much like we did in our previous nursery but as Emie has gotten older, the open concept closet no longer fits our needs and closet doors was first on the list of things to do for the One Room Challenge.
It would’ve been easy to install off-the-shelf doors and call this project complete but we really wanted to customize the doors in a way that not only fit our aesthetic but our budget too.
In order to accomplish our goal, we purchased an off-the-shelf pair of bi-fold closet doors with the idea to add a bunch of decorative trim and molding to make them look anything but off-the-shelf. We used this tutorial by Yellow Brick Home as our inspiration and guide.
SUPPLIES + TOOLS WE USED:
- Flush bi-fold closet door (x2)
- Saw horse
- Miter Saw
- Square
- Measuring Tape
- Carpenter’s pencil
- 1×3 Select Pine boards
- Wood Glue
- Ryobi Nail Gun
- 1 1/2″ finish nails (to nail 1×3 boards)
- 3/4″ finish nails (to nail decorative trim)
- Small decorative trim / panel molding
- Spackle
- Caulk
I made a quick mock-up of the material layout to give you a visual of what wood is used where:

After laying out our doors on a flat work surface, we made 1/4″ marks all around the outer edge of each set of panels. Where the two panels meet in the middle (at the hinge), we only came in 1/16″.
We cut our 1×3 select pine boards to length and installed all the vertical pieces of wood on the INSIDE of our tick marks like so:


The trim has to be installed on the inside of these marks (especially on the outer edges), in order for the doors to open and close properly on the track without rubbing against the adjacent door jamb.
To make sure the vertical 1×3 select pine boards were securely attached, we used a combination of wood glue and finish nails.
Next, we used more 1×3 boards and cut to length the top, bottom, and cross pieces for each door panel and attached them the same way we did the vertical panels.
To install the middle cross piece, we found the middle point of each of the vertical pieces and make a small tick mark. Then we found the middle of the cross piece and made another small tick mark. Then we lined the two tick marks up and attached the cross piece with glue and nails.

Next we cut to length, mitered each edge, and installed a beaded panel molding around the interior perimeter of each of the boxes we had created with the 1×3 select pine boards.

Once all the trim work was complete, we caulked and spackled everywhere there was a nail hole or where two pieces of wood met for a very clean and polished end result. After everything dried, we gave the entire door a once over with a hand-held sander.

We painted some round knob hardware gold to install on each of the closet door panels.
Quick tip: punch the screws for the hardware up through the underside of a cardboard box and then screw the hardware onto the screws from the top – makes the perfect spray paint set-up!

The last step was to paint everything a pretty dusty pink to match the rest of our Room One Challenge space: Rosewater by Behr for a truly seamless look.


Next up: interior organization for this beauty. While the outside looks nice, the inside needs a whole lot of help! Exhibit A:

Stay tuned for a closet organization post coming your way soon but until then, if you have a pair of boring bi-fold doors, a few wood trim details can really amplify the look!


