This post is sponsored by Clare
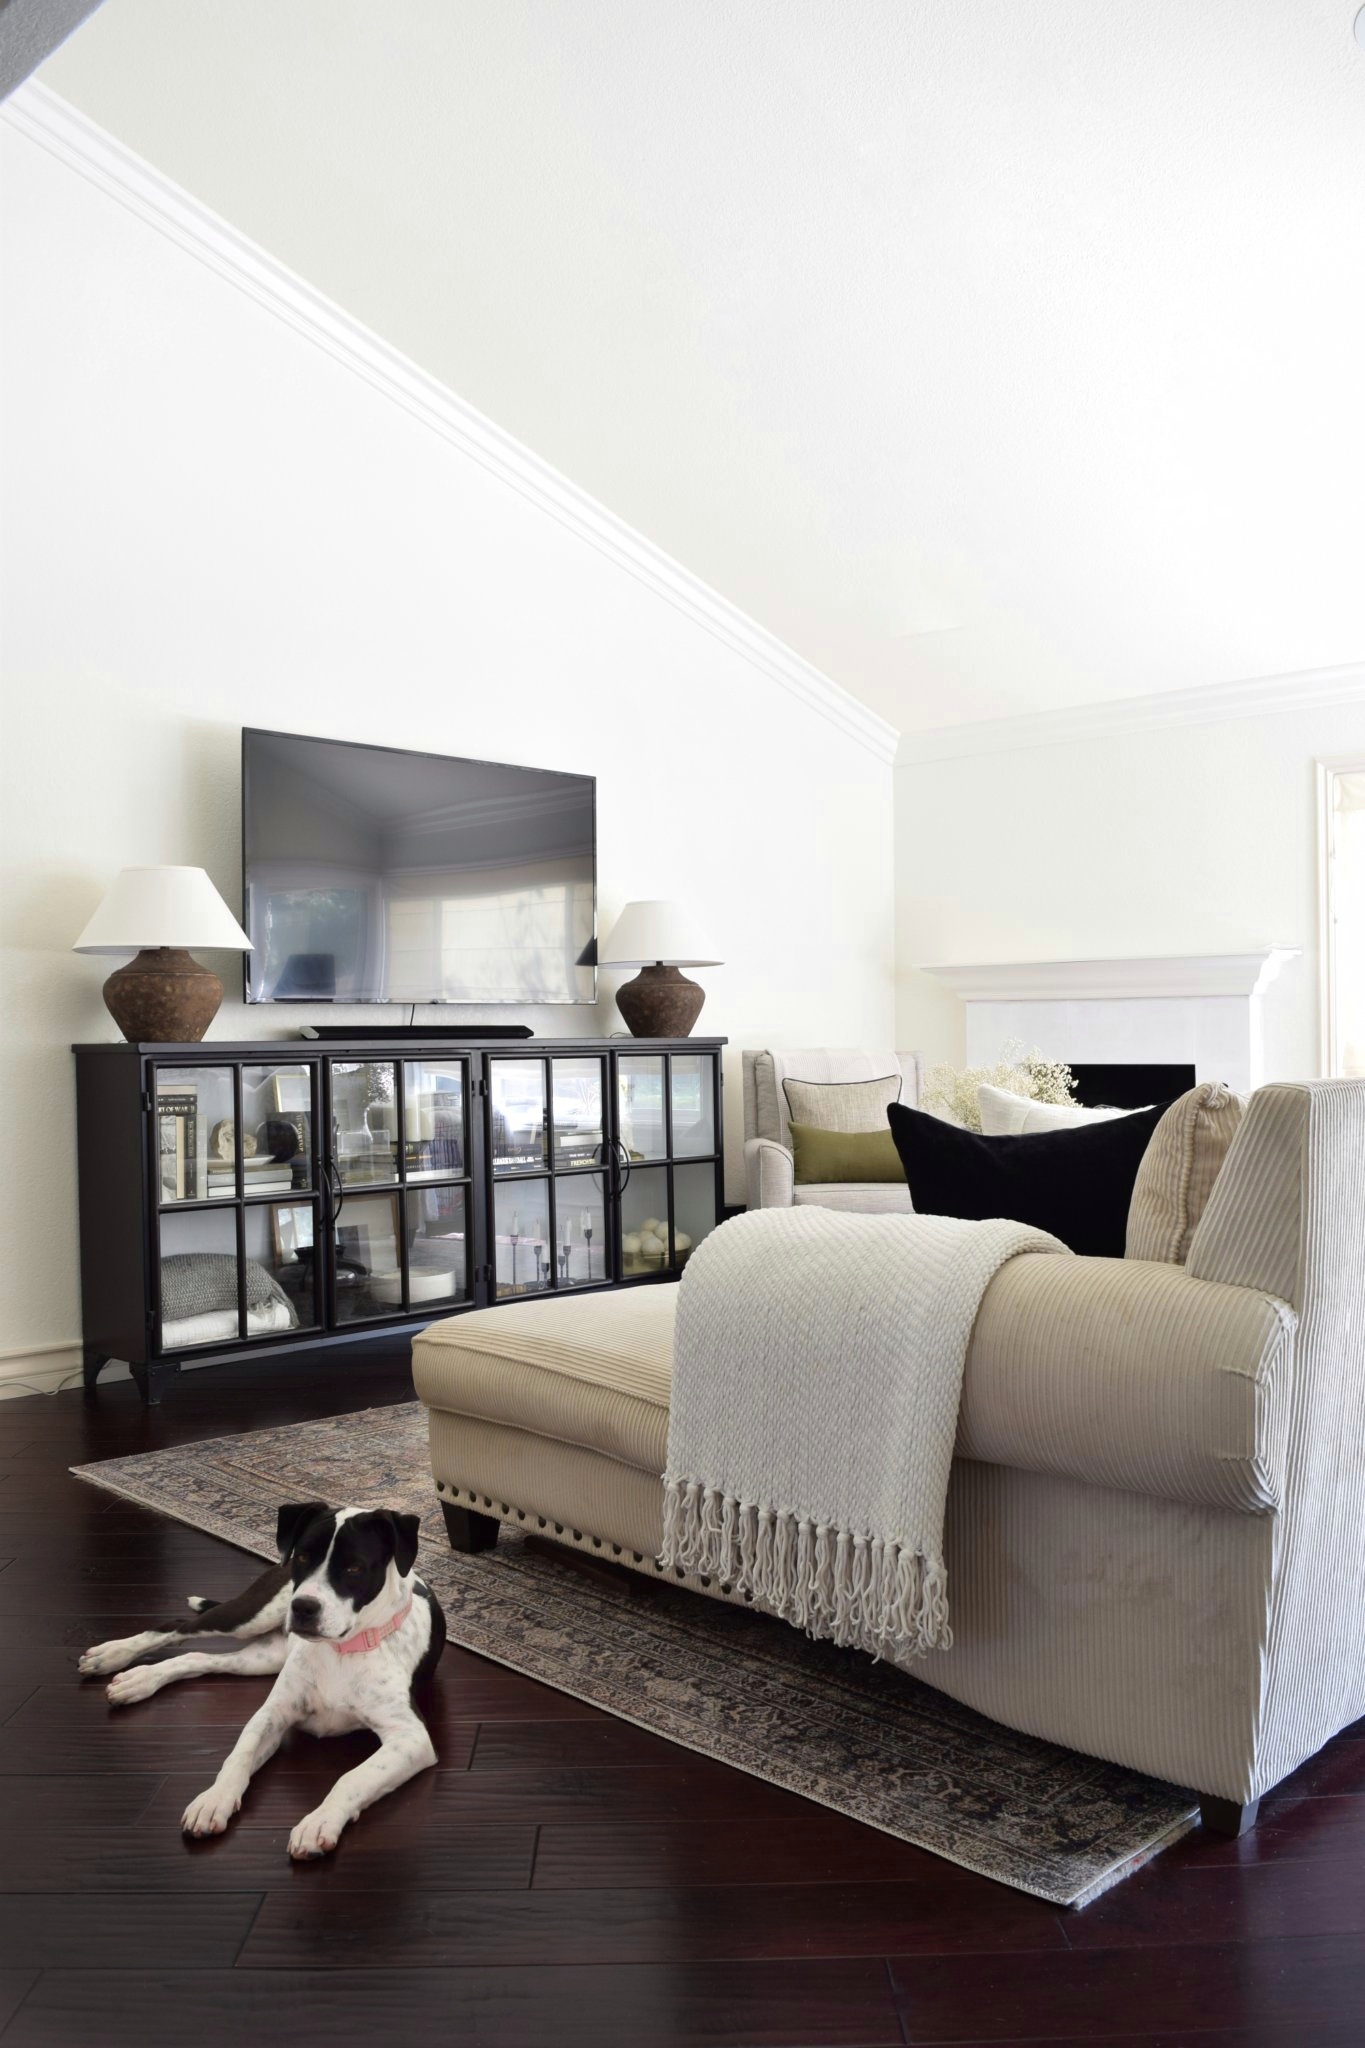
When we moved in last April, the paint color on the walls wasn’t horrible – but the the dusty blue color did nothing to show off the vaulted ceilings or beautiful millwork but instead, made the living room feel dark and dingy. Aside from our daughter’s room, the entire house was painted the same color top to bottom and we’ve slowly been chipping away at repainting each space. The living room & its connecting spaces was the last big area to tackle and I’m so, so happy with how our main living area looks and feels today!
We worked with Clare to completely transform our living room with a few gallons of paint and we painted the living room and all of the connecting spaces (entryway and hallway), Timeless by Clare. Not only did we have to paint the walls, we took things one step further and painted all the millwork (Beigeing for the trim) and every last door too! Talk about many, many hours of work!

What I love most about using Clare is their curated selection of colors. For someone who can get overwhelmed easily by all the choices one has to comb through when it comes to paint, Clare makes it easy! Painting is not a task I particularly enjoy so the pressure to get the color right is front and center because no one – especially me – wants to paint their walls more than once if you choose incorrectly the first time. Nicole Gibbons, Clare’s founder who is also an interior designer, has done all the hard work for you by narrowing down the field of options to only the best of the best in every colorway.
I took liberty of their beautiful colors and ordered quite a few samples and then proceeded to stick them anywhere and everywhere before finalizing my choices!

When I decided to go warm white on the walls, I knew a contrast door and trim was necessary to make all the trim ‘POP’. I finally landed on Beigeing for the trim but I was also contemplating a few of those darker hues too!
I broke this massive paint project into phases to make the job a little less overwhelming for myself. In addition to a few self-imposed deadlines, I was a little intimidated at the start but here’s how I broke the project down into manageable tasks:
- Phase One: Paint all the walls Timeless by Clare
- Phase Two: Paint all the trim Beigeing by Clare
- Phase Three: Paint all the doors Beigeing by Clare
- Phase Four: Touch-ups
Our goal was to complete Phase One before we hosted Emie’s 3rd birthday party at the beginning of February which we did (see below) and I’ve been working my way through the rest of the phases during naps and bedtime every day since.


What I appreciate about Clare is that their paint is formulated with ZERO – I repeat – zero VOCs. That means their paint isn’t formulated with icky chemicals and there’s virtually no smell. For a working Mom like myself, my window of time to get a project done like this is limited to naps and bedtime. I felt confident using Clare in our home because it meant I could work late into the night painting and go to sleep knowing that we weren’t breathing in toxic paint fumes all night.

For phase three – the doors – we have a very builder-basic door all throughout the house and honestly, they aren’t my first choice aesthetically but painting them out in Beigeing by Clare has made me – dare I say it – fall in love with them?! Especially when paired with our gorgeous door hardware.


We have 5 doors in a very small area so highlighting them with paint against the white walls was an absolute necessity so the spaces didn’t look like a white on white on white boring box. Now the hallway has interest and warmth!

As far as how I actually painted the doors: I had no plans to remove any of the doors from their hinges prior to painting so to prepare each door for a couple coats of paint, I used the yellow painter’s washi tape from Clare, taped each one off and used my utility knife to trim off the excess.


Once all the hinges were tapped off, it was time to get painting!

The first order of operation – I used my brush to cut in each raised panel and followed that by rolling all the vertical paths using the 3 piece mini paint roller kit from Clare.


Last step is to roll all the horizontal paths! Be sure to leave your doors cracked open in between coats while they dry so that they don’t stick shut.

A couple coats of paint later (on all the surfaces) and the living area + entryway + hallway are finally COMPLETE! I’m so in love with how everything turned out and I’m definitely loving the clean slate and how bright it feels in here now.
Pepper approves – do you?!

A couple BEFORE + AFTER photos to send you on your way:


