I gave our fireplace a really quick makeover a couple weeks back and judging by all the messages I received – so many of you are interested in the process too!
Before we jump in, here’s a look at where we started:

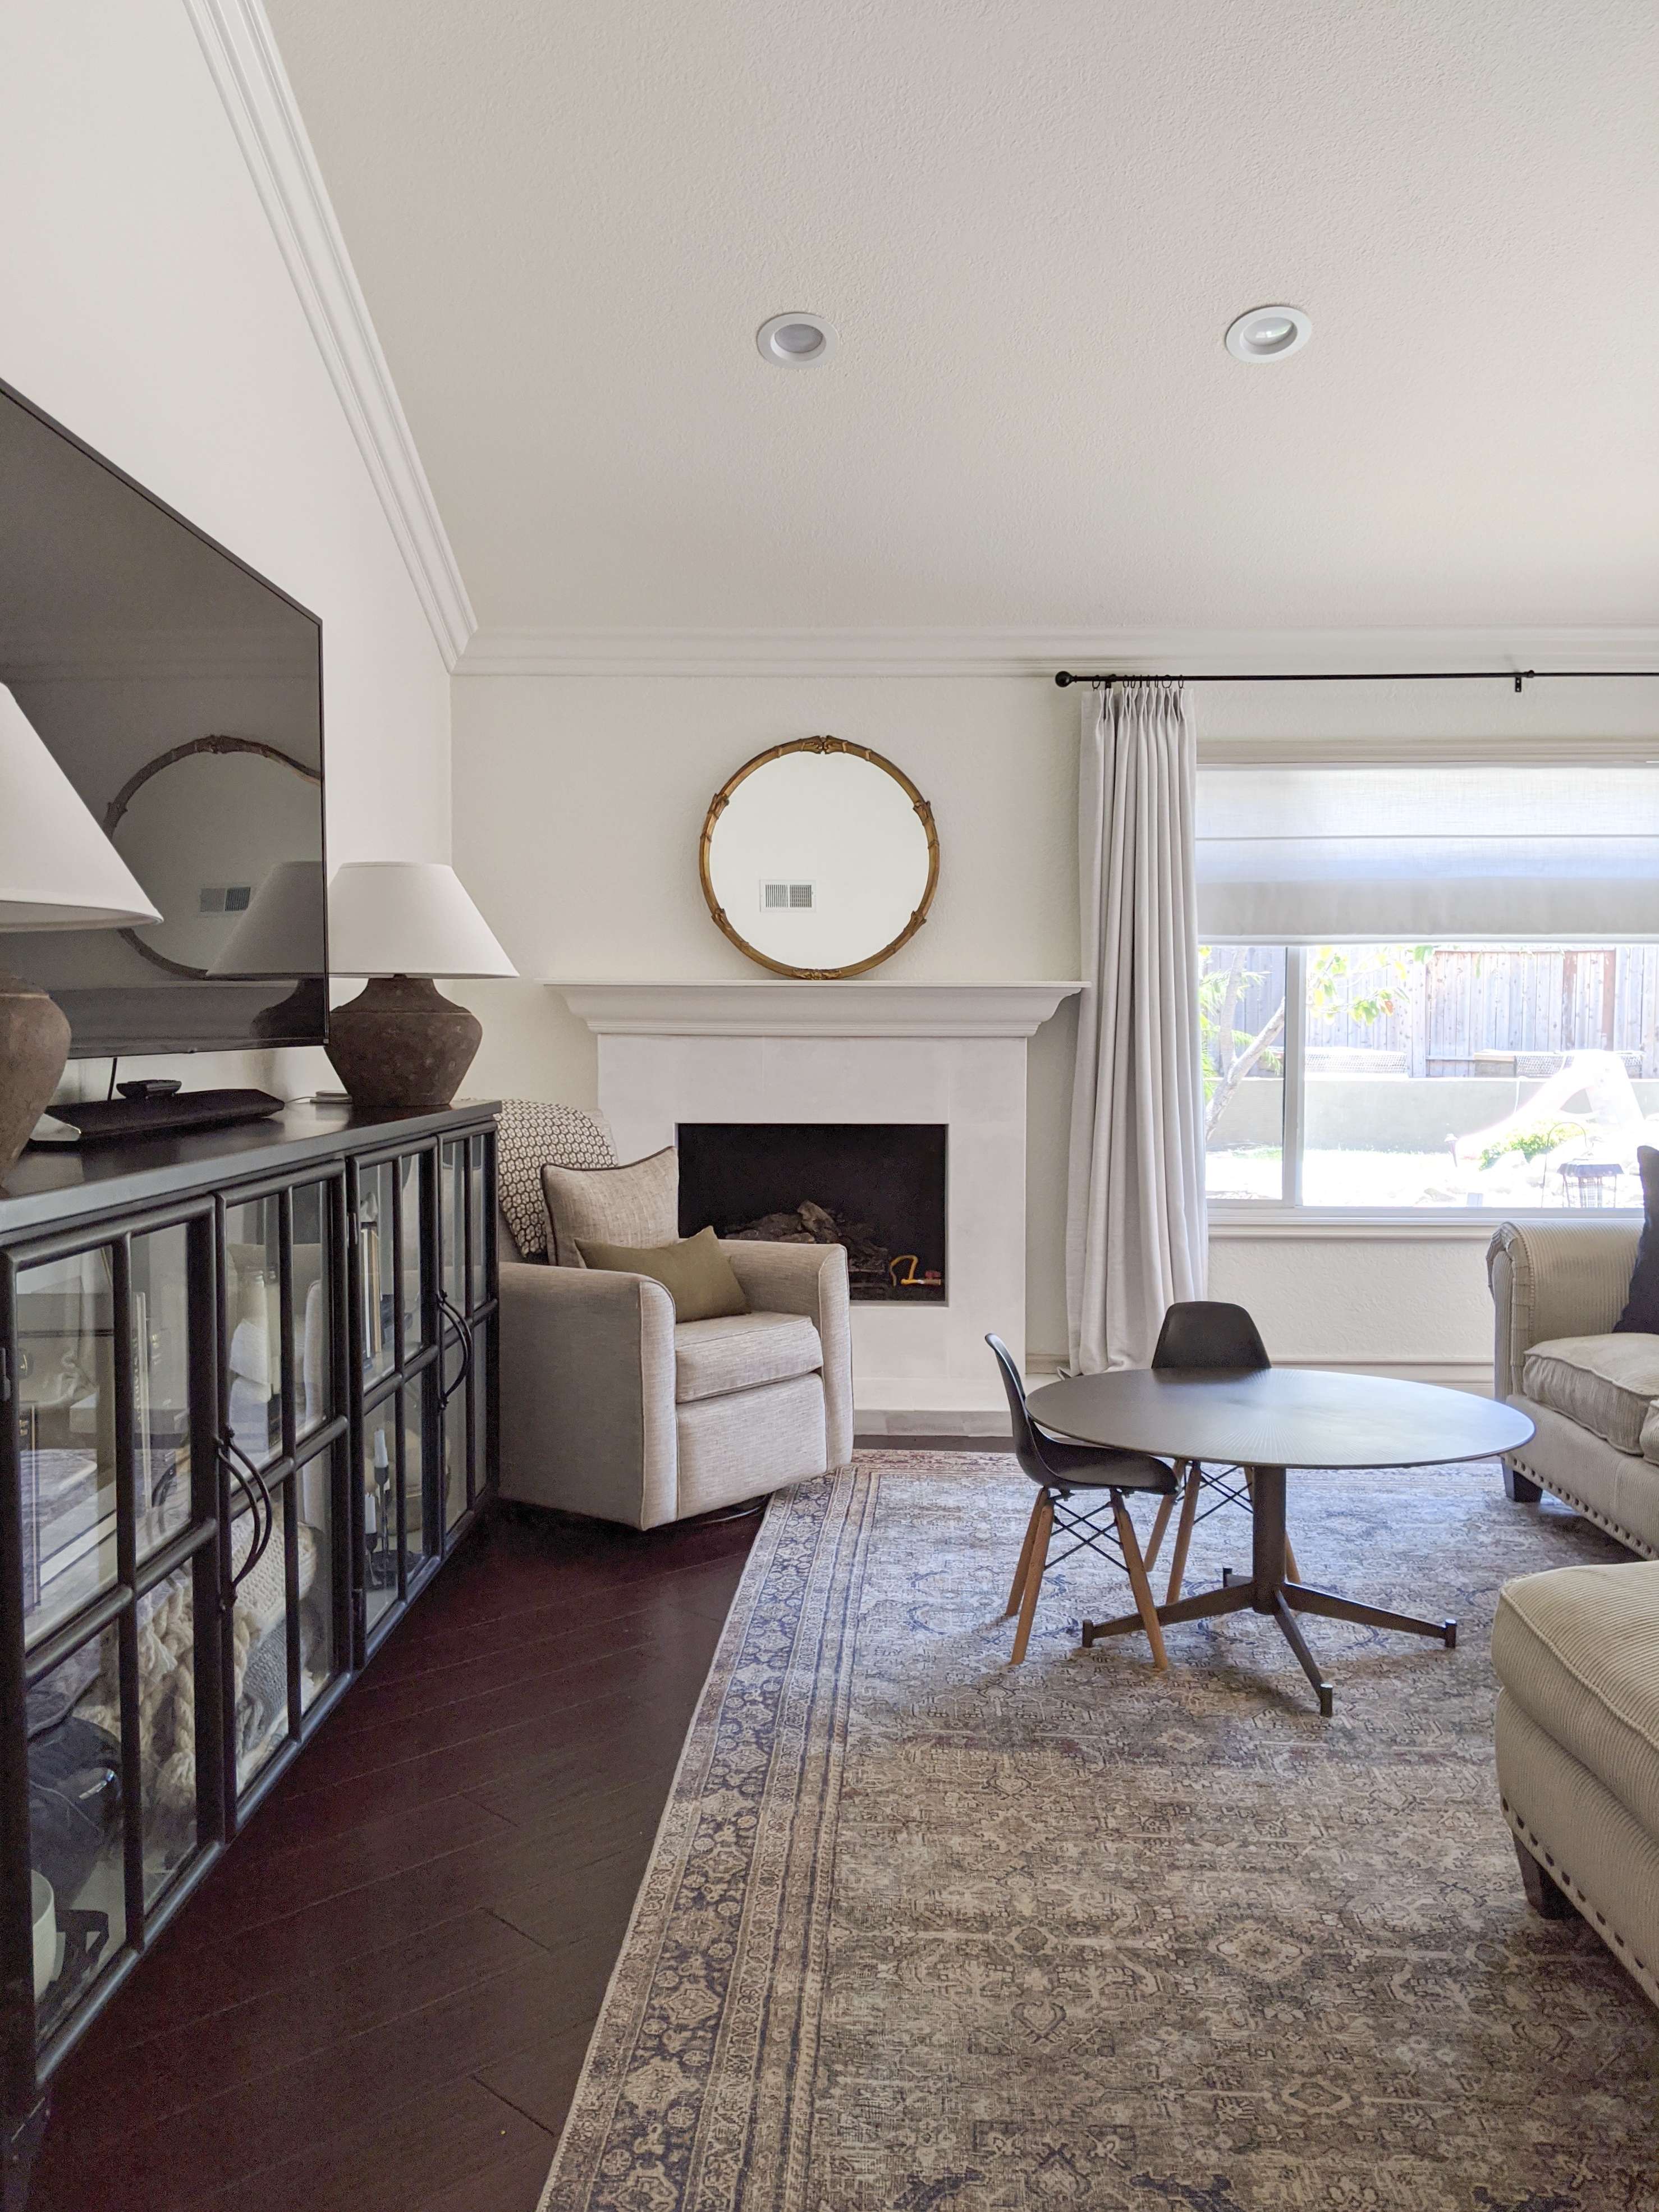
And then what our fireplace has looked like ever since I primed the tile about a year ago:

In a dream situation, I’d change so many things about this fireplace – remove the hearth, add a marble surround, maybe change the mantle – but without a lot of money or the ability to make up my mind, the focus for this project has been just to get it to a point I can live with.
So far paint has been the solution for most of the things I disliked about the fireplace in the first place which brings me to today’s post:
HOW WE PAINTED THE INSIDE OF OUR FIREBOX


While the white tile I painted is currently holding me over for much larger renovation, the sooty firebox still really bothered me. See below:

SUPPLIES NEEDED
Casey over at the DIY Playbook used a similar product to paint the inside of her firebox so this blog post is what I referenced to get me started on ours but our situation had a few differences which I’ll outline as we go along. Here’s what you’ll need:
- Gloves
- Spray bottle with water / vinegar mix (approx 3:1 ratio)
- Scrub brush
- Old rags
- Vacuum
- High Heat Paint by Rustoleum
- Paint Brush
To get started, I prepped my fireplace. In Casey’s post she explains that she cleared out her firebox and vacuumed the box for any loose debris which I would definitely recommend, especially if you have a wood burning fireplace with excess ash and debris that collect at the bottom, but since we have a gas fireplace and use ceramic fire logs, we don’t have a lot of ash to contend with. Plus the bottom of our fireplace is filled with lava rock and I didn’t feel it necessary to remove so I skipped this step and just moved the lava rock away from the firebox walls and sorta mounded it in the center of the firebox and got straight to cleaning the surrounding firebox walls.
I didn’t take any photos of the next few steps because this is a really messy job but the process is straightforward enough. To clean the firebox surround you’ll want an old scrub brush and dry brush off any loose debris or particles on your firebrick. This is where things get dirty and ash goes flying! Spray the firebrick with your water and vinegar solution and let it sit for a few minutes.
After a few minutes, go back and spray the area once more and use your scrub brush in circular motions to “clean” starting at the top of the brick and working your way down the firebox wall. Repeat as necessary. I also had rags on hand but found them to be ineffective for the most part.
Once all the walls are scrubbed let them dry out and then go back with your vacuum and vacuum up any loose debris.
A quick note about the term “clean”: the bricks may be clean and free of ash and debris but they won’t necessarily look clean! If your fireplace is anything like mine, it will have been permanently stained by ash and soot and no amount of cleaning will ever make the brick look new again which is why this project is so satisfying! Painting the firebox black will forever hide any future soot markings or residue. Yay for that!

For our fireplace I chose to use high heat paint by Rustoleum that can be applied with a brush vs using the spray paint version. I didn’t want to deal with fumes and all the prep it takes to spray something indoors so I figured the brush on approach would be easier for me to apply.
I did have to order this paint on Amazon because it’s not sold in stores or if it is – stock is limited, so if you go into your local home improvement store, don’t be surprised if you don’t find it. Not sure why but after looking several different places we were told that most people opt for the spray paint over the paint and therefore they either don’t stock it or stock is limited. Weird.
Moving on – the high heat paint is just like any other paint. Brush it on, watch out for drips, not much to it. The paint is on the thinner side and does smell so wear a mask and open the windows. I only had to apply one coat and wow, what a difference! Want to see?

Much, much better!


With the weather being warm here currently, we haven’t used the fireplace since painting the firebox and that’s probably better anyways to let it dry/cure before a first use but one thing I do know is that it’ll be ready to go when the cold weather creeps up on us and it’ll stay looking good even after!

I love a satisfying, no frills project like this! Don’t you?!