I received a DM the other day asking if I had any tips for purging and decluttering and I thought it would make for an awesome blogpost. We’re all stuck at home a lot more these days which makes it the perfect time to go through closets, drawers, and cupboards in an effort to get everything in tip top organized shape!
Here are the steps I take when embarking on a purging and decluttering mission:
CORRAL A CATEGORY
Start by going around the house and gathering all the items within a specific category that you’re trying to purge and de-clutter. It might be linens, medicine, art supplies, clothing etc – whatever you’re looking to purge, gather them from their various locations throughout the house and bring them to a centralized location. The dining table or our bed always seem to be my go-to sorting place.
By bringing everything within a specific category to a centralized location, you’re then able to see what you have and how much you have of it.

CUT BACK
Once you can physically see what you have – now is the time to get rid of duplicates, anything worn, old, expired, or out of date. This article is a great resource for determining how much of common household items you really need.
CONSOLIDATE
After cutting back, now’s the time to consolidate what’s left. I personally don’t like storing similar items in multiple places across the house. It always causes chaos and confusion when you’re looking for the thermometer, cleaning spray, band-aids, whatever, but can’t remember if you put it back in the bathroom or the kitchen. To avoid this, I always lean on the side of consolidating all medicine, all linens, all towels, all art supplies, in one specific location so I always know where to look when I’m looking for something.
The only caveat to this is bedding that is specific to an individual/room – that usually gets stored where it’s used for easy access. For us that means we store our daughter’s twin bedding in the bottom drawer of her dresser because that bedding is specific to her and her room. All other bedding is stored together.

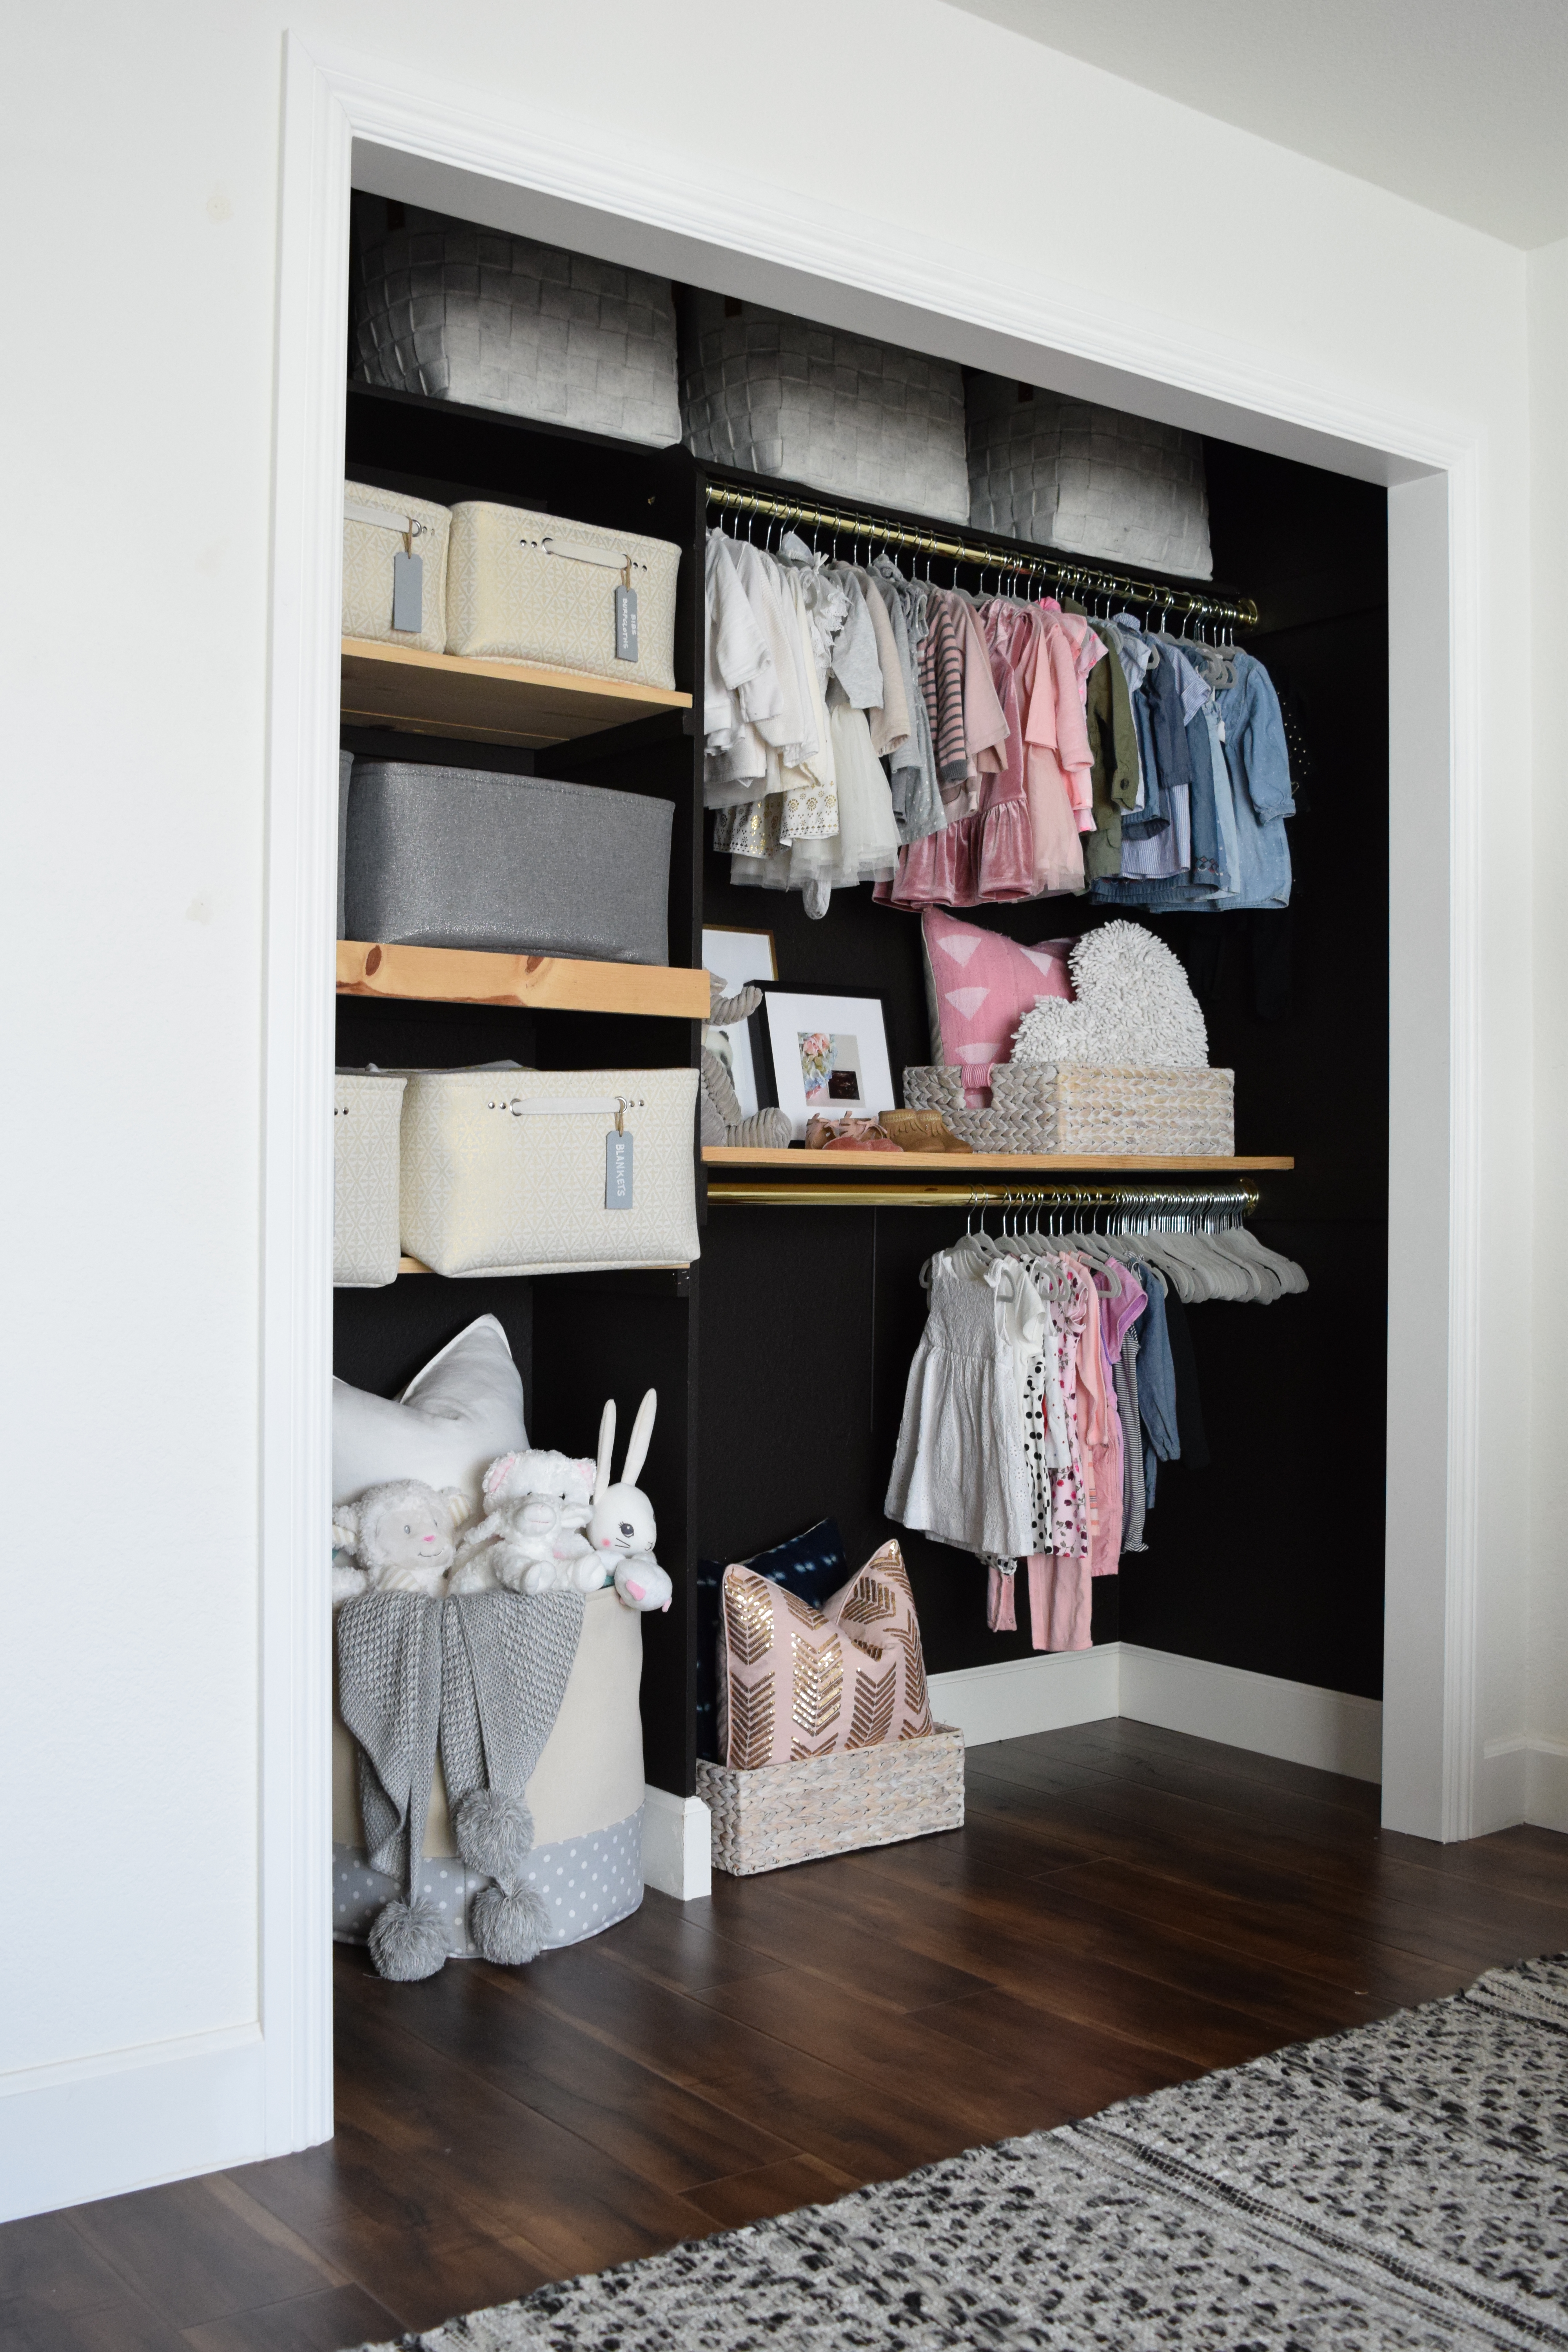
CREATE A LIMIT + CONTAIN
Once you’ve consolidated your items, now it’s time to determine where it’ll live and create a boundary for those items. A boundary or limit can be a shelf, a basket, a tote, a drawer – all towels will live on the top shelf of your linen closet, for example – that’s a precise limit/boundary. Creating a boundary gives you a clear indicator that it’s time to revisit a particular category and go through it to purge when you’ve reached or exceeded max capacity of that limit. Whatever you decide that boundary to be – once you’ve accumulated more than what your boundary can hold, it’s time purge and de-clutter.

Often times I use bins or totes to define a limit for things I’m organizing. They work great for corralling smaller kids items like diapering supplies, toys, bathing suits, art supplies, swaddle blankets, or books even!

CREATE A LABEL
Now that your items are contained – it’s time to label!
The most important part about being and staying organized is clearly labeling where everything goes so that when it’s time to put something away, there are no questions as to where it goes.
In the past I’ve used all sorts of labels: picture labels, chalk tags, or just your typical label maker label.


Hopefully now that you’ve purged, contained, set a limit, and labeled – staying organized will be a whole lot easier moving forward. I also really love the one in one out rule too to ensure you’re stay with your space limitations. All that means is that if you bring something into your home, something from that same category must then go.
If you’re tackling an organizational project soon and use any of my tips, I’d love to hear how it goes!