I’ve been slowly working on Emie’s room re-do – emphasis on slowly – and part of the hold up can be attributed to my struggle to find the perfect layout for her room. It’s been tricky! We live in a small home and don’t have a dedicated play space for the girls so their rooms are where they do the bulk of their playing. It’s always been a priority to preserve as much floor space as possible for days full of play but as Emie gets older, her needs are everchanging and I’ve felt the push as of late to give her room a little refresh this Summer. Finding the perfect layout to accommodate all her needs became quite the challenge but I think we figured it out! Before I show you where we landed, I want to show you all the layouts we tried and how I worked through this particular design challenge.
ONE ROOM CHALLENGE
When we designed Emie’s room for the One Room Challenge back in 2019, we landed on the layout shown below – with the bed along the back wall and a dresser opposite the bed. This layout gave us storage for clothing and a lot of floor space for playing and it worked great for us for several years.


rearranging and frustration
Once Emie started school and was coming home with homework, it became clear that what she really needed was a desk so I did some rearranging to see if we could make space for one. I turned the bed 90 degrees and put it in front of the window instead of along the back wall, I moved the black dresser went into Milly’s room, we bought an old armoire for storage, positioned it right next to her bed, and we lived with this set-up for a while.

This layout was a step in the right direction but it didn’t feel right. The armoire provided storage, there was ample floor space to play, I tried putting a desk in her closet but that was a disaster, and with the armoire right next to her bed, there wasn’t room for a nightstand. So I rearranged again…
I flipped the armoire to the opposite wall – now opposite the foot of her bed – and planned to add a desk right next to the bed, where the armoire used to be. I figured that a desk there could pull double duty as a nightstand and I felt really good about this solution.

I began searching for a desk to go next to the bed while also starting the process of making over the armoire – it’s looking cute!


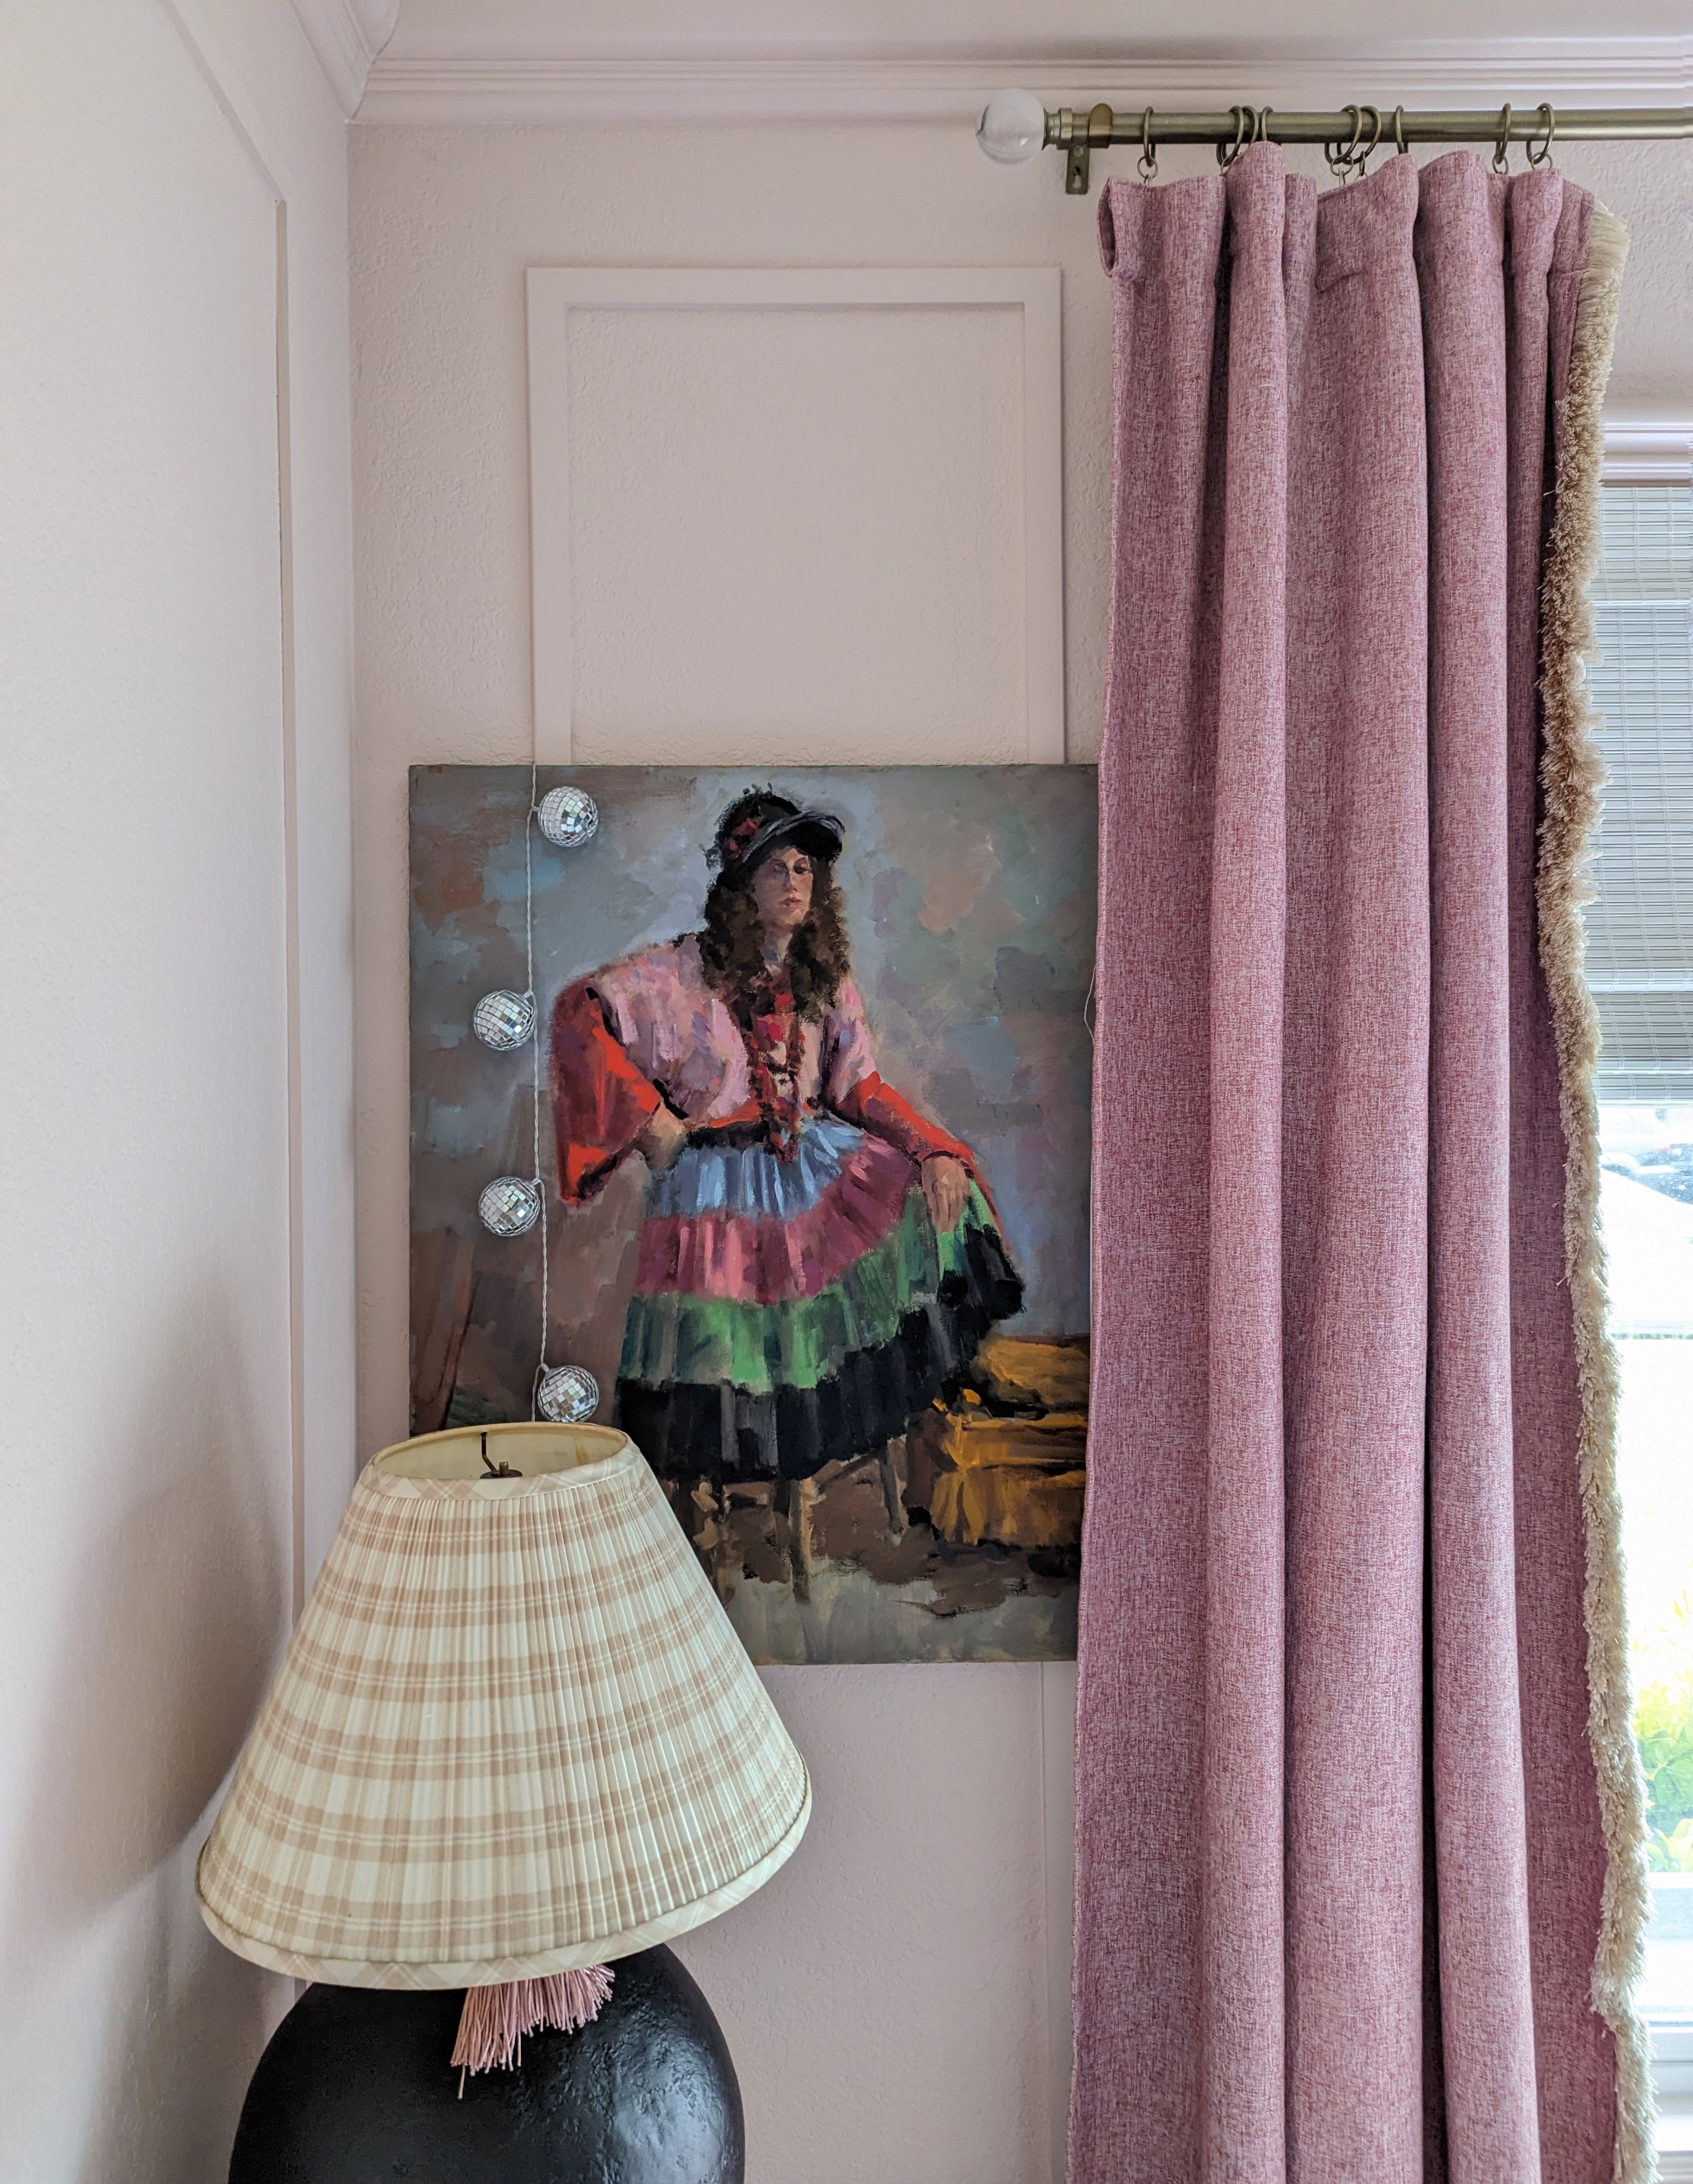
And just to keep it real – this is what the wall next to Emie’s bed (where the desk will go) looked like – not cute at all:

In searching for the perfect desk, I reached out to several brands to see if anyone wanted to partner with me but nothing ever materialized. I kept coming up empty at the thrift store and on FB Marketplace and I was beginning to get really frustrated with this space. After struggling to find a desk, I considered scrapping the idea all together in favor of a big comfy chair but I didn’t want to buy a chair just to fill a hole, you know? I thought about installing a ballet bar, a bookcase, a rock wall – but every other idea felt forced and unnecessary. We really just needed a work space and I just needed to be patient for the right thing to come along.
finalizing the layout
Whenever I’m struggling with a design project two things help get me over the hump: finding fresh inspiration and putting it down on paper. To narrow down a direction for the desk wall, I searched Pinterest for images that resonated with me and the existing space:


Then I studied my images and determined what it was I loved about each of them. What I loved: the simple desk paired with a playful gallery wall from the image on the left and I loved the modern chair and the lilac cabinets from the image on the right.
Next up, I put all my ideas out on paper – or in this case, into a 3D rendering of the space. I used a floor planning software – same software I use when designing for clients – to map out several different room layouts and help me zero in on the best possible layout for Emie’s room.
Doing it this way is the easiest way for me to see the room with every configuration I was considering – with a desk, with a comfy chair, with a bookcase, with the bed along the window wall, or with the bed along the back wall – rendering it in 3D made it easy to see the space as realistically as possible without actually having to go through the motions of each configuration in real life.
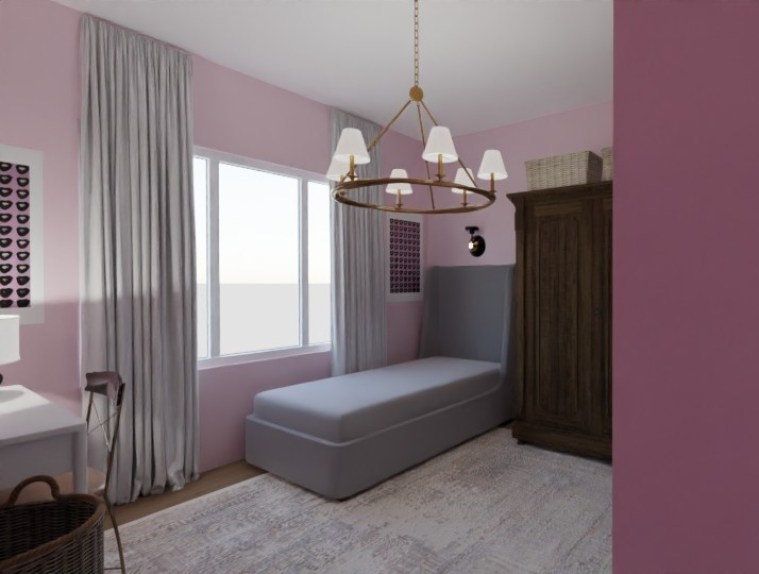


I rendered multiple configurations of the room and realized that I loved the space best with the armoire next to the bed. Where it was before I moved it, ha! This layout maintains the open floor space and feels more open with the armoire tucked away on the back wall and not blocking the line of sight from the doorway. No, there won’t be space for a nightstand with the armoire next to the bed but I’ve since realized that I’m OK with that.
My dear daughter is a bit of a collector and I know that the more drawers and surfaces that I give her, the more she’ll fill them up with unnecessary junk which is exactly why I sold her last nightstand, so I’m fine to do without a nightstand. What I also realized from pulling fresh inspiration images was that I was most drawn to simple desks. Ones that were more table-like because they didn’t have drawers to squirrel away junk. With that realization, I went back on to FB Marketplace and found the simplest of desks/table and bought it for $40.
It’s the Pahl table/kids desk from Ikea, can be adjusted, modified, customized, and was in near perfect shape. Done! And in case you’re curious, yes! Before I moved the armoire back to the wall it started on, I did try the desk there just to see….

but I hated it lol and it confirmed that sticking to the original plan was the way to go:

cracking the code
If you’re struggling to figure out the layout of your space try pulling fresh inspiration images and then spend some time studying them! What do you like? What don’t you like? Notice any similarities? Any common themes? Take note and see how you might be able to implement those things into your space. Once you’ve done that, layout out your room on paper, on a napkin, on the computer – it doesn’t have to be fancy – but it’ll give you a visual tool to see how the pieces play together. These two tasks always help me when I’m struggling with a space. I hope they help you too!
That brings us to today…
All the furniture pieces are in their places – finally! – and now it’s about organizing, styling, touching up paint, finishing the armoire makeover and maybe…just maybe…a new element or two. We’ll see if I have the bandwidth to tackle that this Summer but I’m already so, so pleased with where this space is headed! Here’s the tiniest of sneak peeks:
